


|
BreezePad |
.:Finished BreezePad
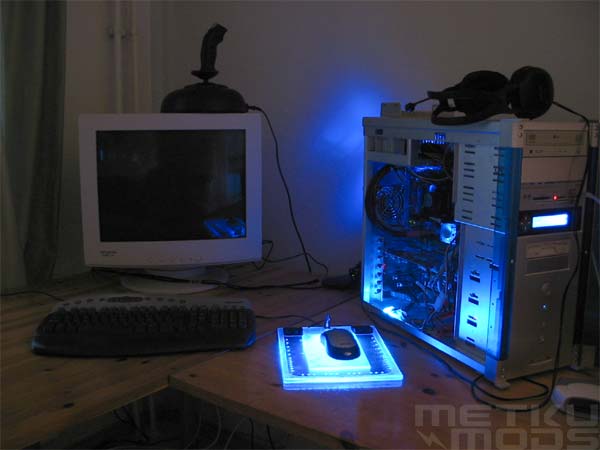
First time in a dark room
Glowing quite nicely. :) There isn't any good way to demonstrate how well the air is circulating inside the pad so the photos will focus on the visual appearance. With three blue leds the shine is really great and the light is distributed around the pad evenly.

Blowholes
Blowholes get a nice glow too. One could use different colored leds for the top and bottom layers or include the ColorFade circuit to fade different colors.
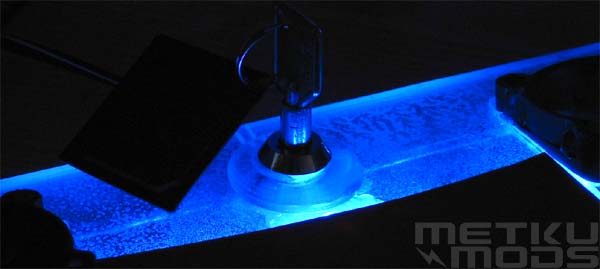
Riser block
Even though the leds are aimed towards the front edge of the pad the riser block for the lock is lit quite nicely too. The light will bounce all around inside the pad so even the backend will get some glow too.

For optical mice
For this kind of surface to be operational with optical mice it needs to be sanded or covered with something that the optical sensor can track. I took a piece of carton and cutted a basic shape out from it. Everything worked out smoothly and functioned perfectly.
 |
Again something that will get overly popular instantly. Hehe, I wish. ;) I know that this BreezePad will be keeping my hand cool during the summer and now it is your turn to make one for yourself. Process itself wasn't that difficult in any part of the project but one need to have proper tools to make nice and clean cuts from acrylic materials. I used a jigsaw with a bit ment for cutting metals and it worked quite nicely. The whole mod took around 6-7 hours to finish but you shouldn't rush it too much. Hopefully you enjoyed this, *cough* both practical and cool looking mod *cough* and feel free to browse through my previous mods in Metku's Modding section. |
 Questions,
comments?
Questions,
comments?
 Back
to the frontpage.
Back
to the frontpage.
| <-- Prev: Preparing the keyring |
14.06.2003 - ©Japala
 | Pages: 1 2 3 |  |
 Content in english!
 Sisältö suomeksi!
 En ota mitään vastuuta tuhoutuneesta tai hajonneesta laitteistosta tai sen osasta.
 Disclaimer! I will not take any responsibility for any destroyed or damaged hardware.
