


|
|

 In English
 Suomeksi
Finishing touches
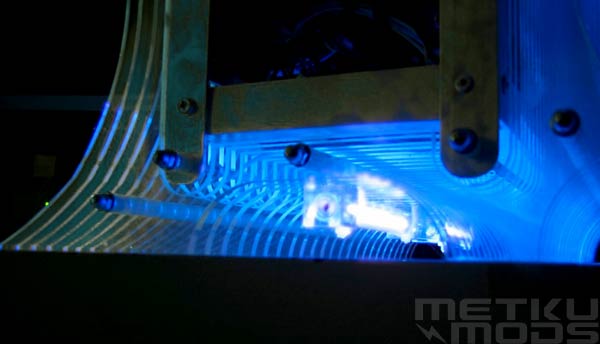
Bottom cathodes
Here you can see the cathodes under the case.
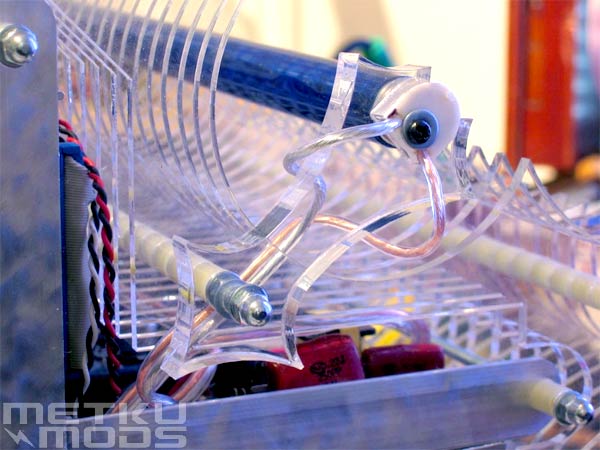
UV tube
Close-up of the UV tube on top of the case and its mounting.
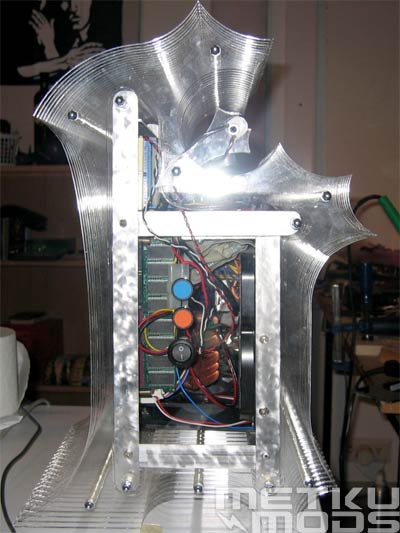
Lights off for now.
Picture with a flash and cold cathodes turned off. From here one can see the buttons on the side (and the finger prints on the plexi sheets). ;)

Let there be light!
In this picture there is no UV-paint (yet). The fluerescent tube is regular white covered with blue film. Much brighter in daylight but not as cool in the dark. I almost chose not to paint the edges, because the supposedly transparent uv-paint was not completely transparent and it dims the edges of the plexis. By the original plan I would have painted the inner edges as well as the outer edeges. Since I wanted the edges to shine, I painted only the inner edges.
Of cource the painting did not succeed without problems. The easiest way to paint the edges was to attach the plexis together with bolts (without the collets) and so creating a surface from the edges. After the paint was dry I noticed the paint had been drawn between the plexi sheets thanks to the capillar effect. Luckily the paint was still wet beetween the plexis and I managed to get rid of it with hours of scrubbing with certain solvent. :)
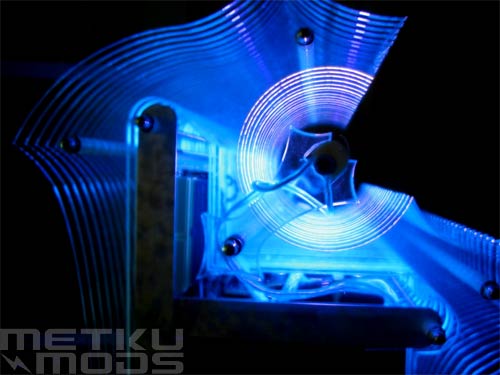
UV
Result from the UV-paint treatment.
 | Pages: 1 2 3 4 5 6 7 |  |
 Content in english!
 Sisältö suomeksi!