
|
|

Physical Views
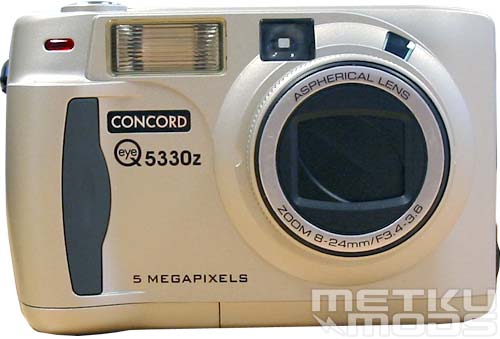
Front
On top left you can see a red dot. This is a self timer lamp that will indicate when the image is going to be taken. It start flashing when shutter button is pressed and flash faster and faster then on until it is constantly lit -> photograph is taken. The whole process takes about 10 seconds, giving the photographer time to enter the frame.
Also visible are the flash, viewfinder window and the flash sensor. Aspherical zoom lens has build in lens cap to protect it while carrying the camera inside your pocket etc.
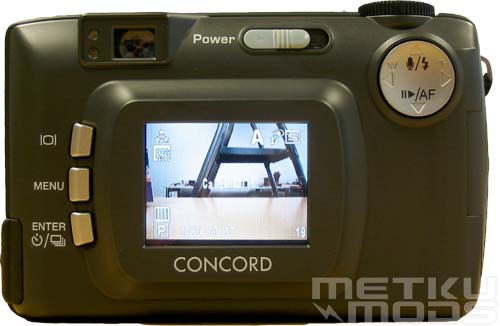
Rear
Again from the top left. Optical viewfinder with green focus led and red flash led. As their names suggest, camera will indicate its focus lock/no focus with the green led and red led will indicate when the flash is being recharged. Next to these is a power switch. User slides the switch to the right and releases it for camera to start or to turn off. 5330z is extremely slow to start up and it can take up to 10 seconds for it to extend the lens and recharge the flash. On top right we can see the four-way switch that have multiple uses. It is used while making selections inside the menus, zooming, audio annotation, selection of flash mode etc. Placement of this four-way switch is good because your thumb gets placed on top of it almost naturally.
Buttons on the left, starting from the top. DISPLAY; This button in used to turn on/off the LCD display seen also in this image. useful feature if you are taking photos in low light where the LCD is less useful. Helps to save batteries. MENU; Opens up the configuration menus to the LCD. ENTER; Confirms selections in configuration menus. This button is also used to select different shooting modes (self timer, continuous shooting, continuous shooting with auto focus and single frame).
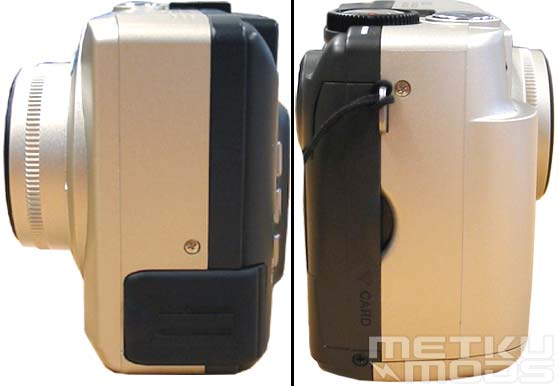
Sides
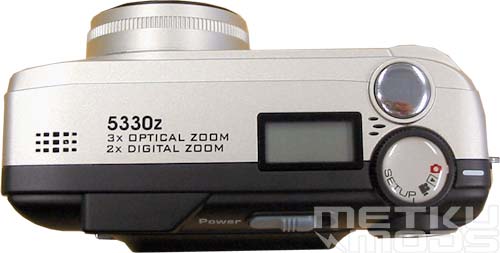
Top
On the left and right you can see the small holes. Behind them are located the microphone and the speaker. Microphone can be used to record audio annotations to recorded images. It is sad that this microphone can't be used to record audio to the video clips too.
LCD screen for basic data is located next to the shutter release and mode selection dial. More on this display at the next page. Shutter release is perfectly placed, at least for my fingers. This two-step button feels and functions very well and you can clearly notice the middle area that starts the pre-focusing sequence. Mode selection dial has the following functions:
| SETUP | Used to adjust date/time, format the memory card, set the auto shutdown timer etc. |
| For recording video clips. Videos are recorded without voice and user can select recording times from these choices: 5, 10, 15, 20, 25 and 30 seconds. Recording can be stopped at any time by pressing the shutter release button again. | |
| Viewing recorded images and videos. Allows users to delete images, print them etc. | |
| Standard mode for photographing. |
Dial itself turns smoothly. Only thing missing in my opinion is one or two custom modes. With these I mean modes that you could customize to suit your own needs. Now when you set flash and shooting modes and turn off your camera the settings will be lost and reseted to defaults. Storing these settings to these custom modes would have been a nice feature.
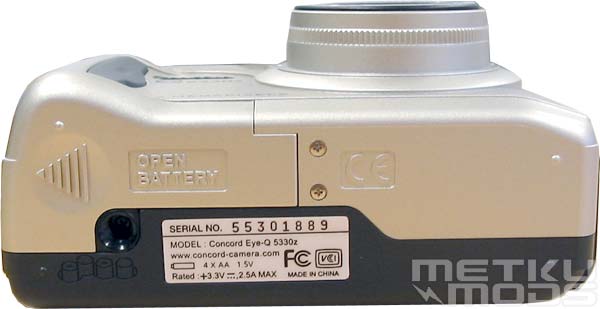
Bottom
From the bottom we find the tripod socket and battery-chamber door. Because the tripod socket is located right next to the battery-chamber door, you need to remove the camera from the tripod before you can change the batteries. I find this quite inconvenient even while placing the tripod under the most heaviest part of the camera makes sense.
This is also a good angle to comment on the handle. Because the lens extends out from the camera body even when the camera is powered down, Concord could have made the handle bit bigger. Most of the new models of heavier cameras have bigger handle to make the camera more stable while you are taking photographs. This also allows you to take images with only one hand, because you can have a firm grip from the camera body.

Battery compartment
Four AA sized batteries give energy for this camera. I'm all pro for the usage of these regular sized batteries over the camera specific batteries. They are cheaper to replace and if the camera happens to run out of juice on a road trip, you can always buy regular alkaline batteries to keep you going to the next recharge possibility. I've been getting around 200-300 images per recharge on 1700mAh batteries with this camera.
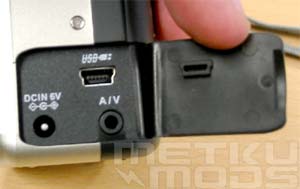
Connectors
On the one side, behind a rubber cover you can find these connectors. DC IN for the wall transformer, USB so that you can connect the camera to your computer and finally A/V connector that allows you to connect the camera to a TV set. DC adapter isn't bundled with the package but it should be available separately. This allows you to take larger set of images without the need to take off the camera from the tripod when the batteries run out.
Box
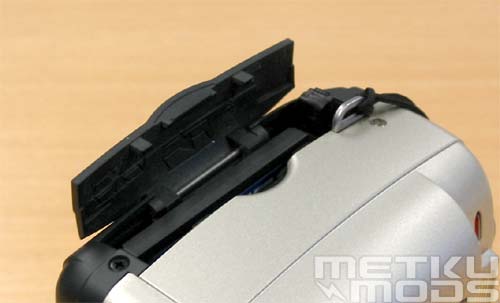
Card slot door. I think that this was the trickiest part on this camera. When you want to remove the memory card, you are required to lift up the card-release lever and push it towards the camera. This will push the card out. The lever itself is quite small so it is quite hard to get it upright if you don't have good fingernails. Also the card doesn't pop out very much so you need to have slim fingers to remove it. Similar mechanism is used on some laptop PCMCIA slots but in a larger scale. I would like to see this method of handling cards altered to something more user friendly.
| | Pages: 1 2 3 4 5 | |
 Content in english!
 Sisältö suomeksi!
