


|
|

 In English
 Suomeksi
Closer look

Transmitter
The best part of this product lies inside of it. The usb-tranmitter unit is hidden behind a small door in the back of the Gemini. This is really a clever idea and will save nerves when traveling with a laptop. You don't need to worry about losing the transmitter, just make sure the mouse is with you. After this solution,a normal discrete transmitter will look stupid and clumsy. Communication between the mouse and the transmitter is done using radio frequencies. Manual promises 256 different 'ID' channels and this should prevent multiple mice from disturbing each other. When you detach the transmitter from Gemini, no visible hole is left in the back of the mice. A small door is located in the chassis of the mouse and it will make Gemini look the same whether the transmitter is inside the mouse or not. It would have been really stupid, if there was a hole in the mouse always when you use it. A really good idea has been carried out thoroughly here. Just press the part marked with the text 'Gemini' and the transmitter will jump out ready to be used.
Made in?
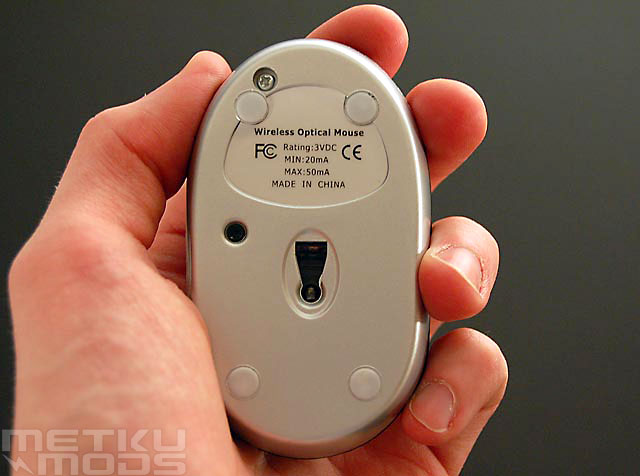
If you didn't guess from the quality of the plastic parts then yes, this really is made in China. Picture shows a small button on the bottom of the mouse. This is used to establish the connection between Gemini and the transmitter. Somekind of a teflon pads are placed in the corners of the mouse and this should make it usable on many different surfaces.
Mouse opened.
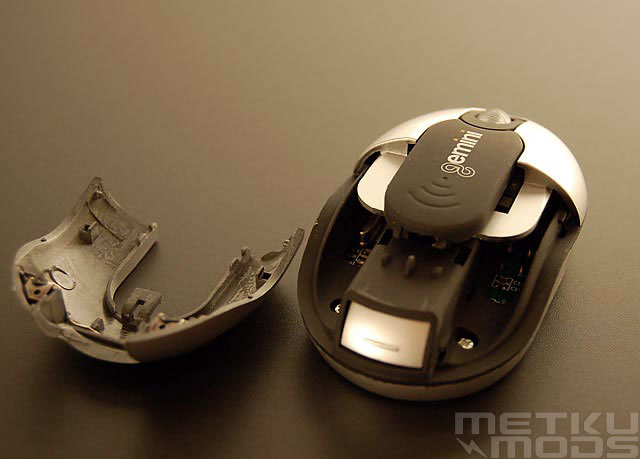
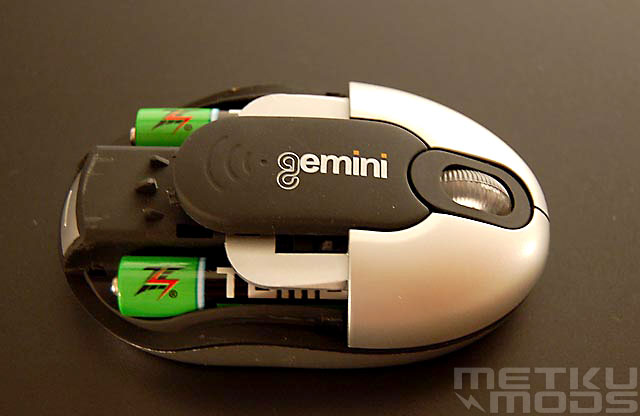
To install batteries the mouse needs to be opened. This is done by pressing that 'Gemini' part again and pulling the cover of the mouse backwards. Place for two AAA-batteries is revealed. Picture above also shows the small space reserved for the transmitter behind a small door. Really compact design indeed! This mouse also knows how to save valuable batterylife. When not moved in a while, Gemini goes to sleep. To wake it up user just needs to press any key or scroll the scrollwheel.
Yes the batteries do fit!
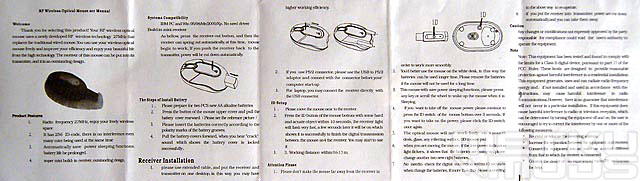
After 'installation' of the batteries the transmitter is removed from Gemini and connected to a usb-port of a computer. Extension cord might come handy when using normal desktop pc and happily such thing is included in the package. Now the transmitter can be placed quite freely to quarantee optimal work area for the mouse. Manual states that next step should be to press that connection button in the bottom of the mouse. All this causes is the red leds on the mouse to light up and then go out. Refering to the pictures on the manual it comes clear that there is a connection button also on the transmitter. When pressing simultaneously buttons on the mouse and the transmitter, connection is established and one can start using Gemini. In addition for the flaws in the manual, it is written in pretty strange 'English' Overall the pictures on the manual help the user more than the text parts. In the picture above, one of the batteries is placed wrongly. Too bad I noticed this after taking the photo.
Manual
 | Pages: 1 2 3 |  |
 Content in english!
 Sisältö suomeksi!
