


|
|
 In English
 Suomeksi
Installation
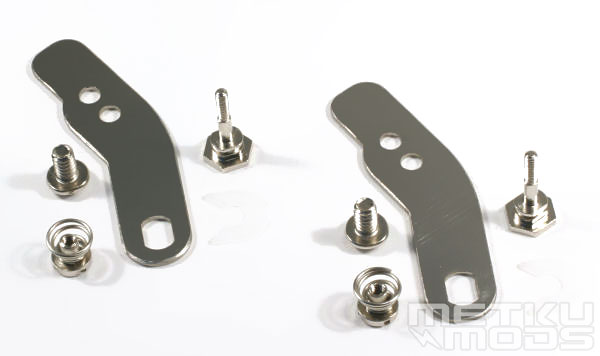
Mounting parts
Installation of the KuFormula is pretty straight forward operation. There are no tiny parts that you can loose or break. Because of this, the installation guide only contains two stages. First step is to select the right parts according to the manual and mount them to the heatsink with two screws. Then lock longer screws in place with plastic C-locks and tighten the whole sandwich with spring loaded bolts to the VGA-card. The whole process should be over in less than ten minutes.
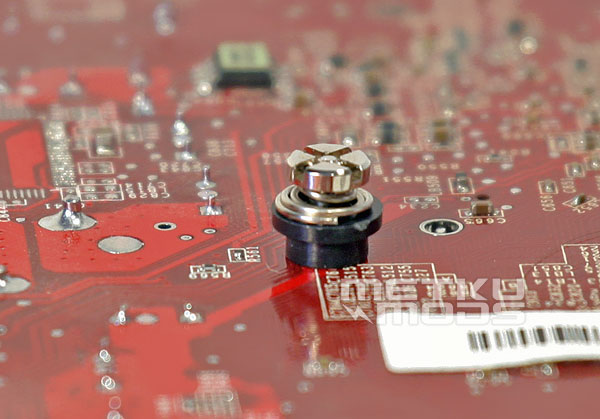
Spring loaded bolt.
Installation of the multi platform KuFormula was almost as easy as nVsilencer's dedicated model. Only thing I miss is some kind of support plate to the backside of the graphics card. This kind of support plates are seen in almost every large CPU-cooler and also in some VGA-coolers so why not with this one? Also, the spring loaded screws could in my opinion be bit tighter. Installation guide tells one to tighten the screws until the tap in the middle blocks the screwdriver. When that happened, the cooler was still quite loosely mounted so I had to tighten the screws bit more. Perhaps Sytrin should concider on using thumb screws in their next version. Other than that the installation of the VF1 Plus was very easy.
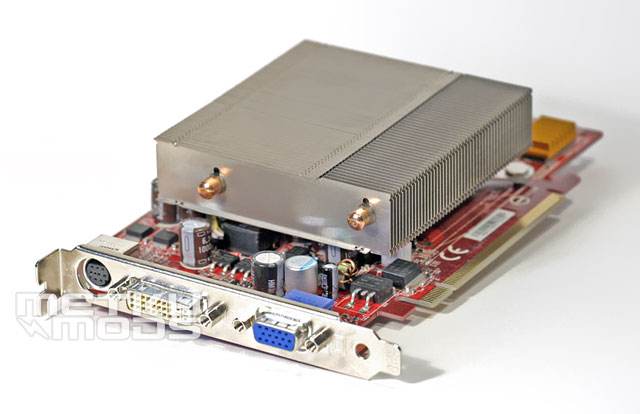
Almost there...
The cooler looks even more massive when installed. At this point it's pretty obvious that thic cooler will block at least one card slot under the PCI-e, maybe even two. After installing the cooler it's time to install the whole sandwich to the case. Usually this means just slotting in the VGA-card but this time it includes the installation of the PCI bracket too. First step is to normally install the VGA card. After that is done, carefully slide in the PCI bracket with the fan installed and tighten with two screws to hold it in place. Only thing left to do is to plug the molex connector to free molex connector coming from the power supply and everything should be ready to go.
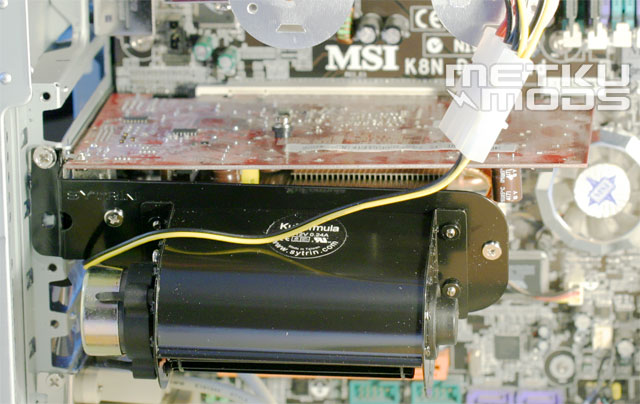
Installed
After the installation I was a bit disppointed by the "Build your own cooling" statement from the package. I was pretty excited to see what it means in practice but seemingly it's just Sytrin's slogan and has no deeper meaning.
 | Pages: 1 2 3 4 5 6 |  |
 Content in english!
 Sisältö suomeksi!