
|
|

Installation Wizard
Installation Wizard comes with the Software CD. It allows one to take few simple steps to get started with the N2100. The process is very straight forward and should not be that difficult task to anyone that have at least the basic understanding what for example RAID means.
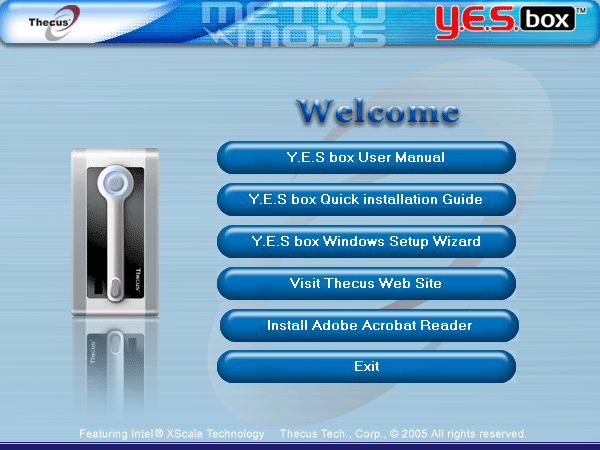
Main menu
If you want, you can check the electronic manual first before proceeding with the installation. Let us move to the next step, the Y.E.S box Windows Setup Wizard.
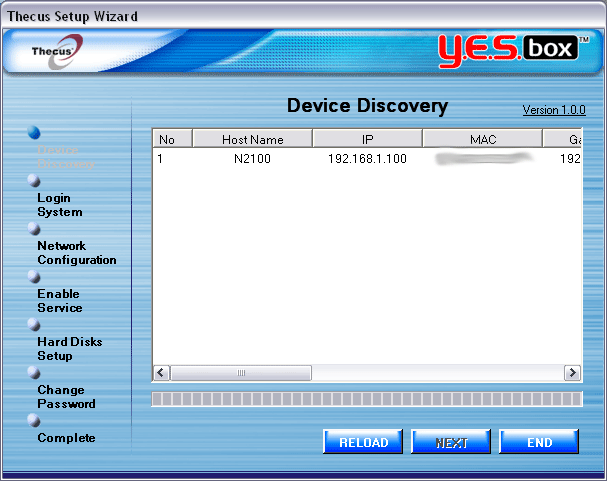
Device Discovery
Wizard automatically scans the network for any supported devices. All found devices will have their basic information shows so you know what unit you will need to be editing. Select the device and press next to proceed to the next step.
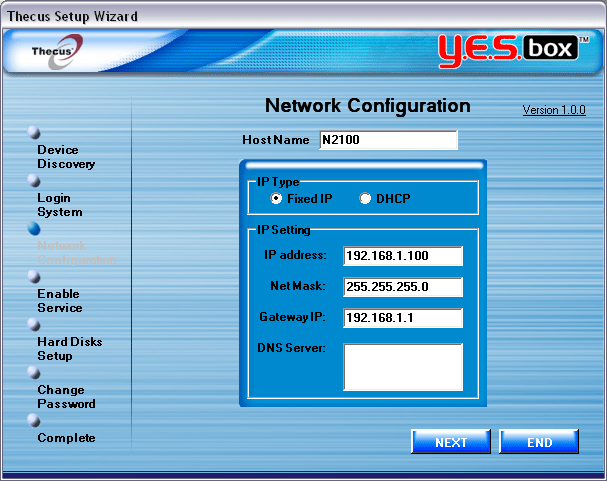
Network configuration
This should not be that difficult step for anyone that have installed their own home network or just changed the IP number on their own machine. Just select the name you want for the unit, select the fixed or DHCP method and insert the values needed. Could not be any simpler than that.
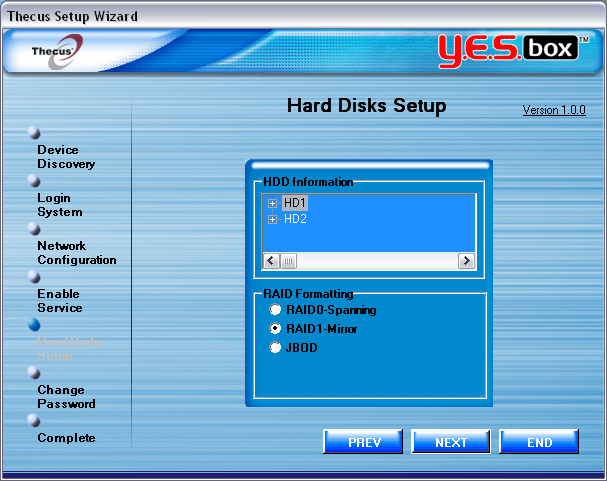
Setting up the RAID
Installed hard drives are visible on the top box. Now you have to decide what RAID level you want you drives to be in. RAID0 and 1 are supported as is the JBOD. JBOD is not an actual RAID as it only joins two separate drives so that the operating system seems them as one. There are no speed or fault tolerancy gains with this method. If you want more information on RAID, I'll suggest you to take a look at Wikipedia on this.
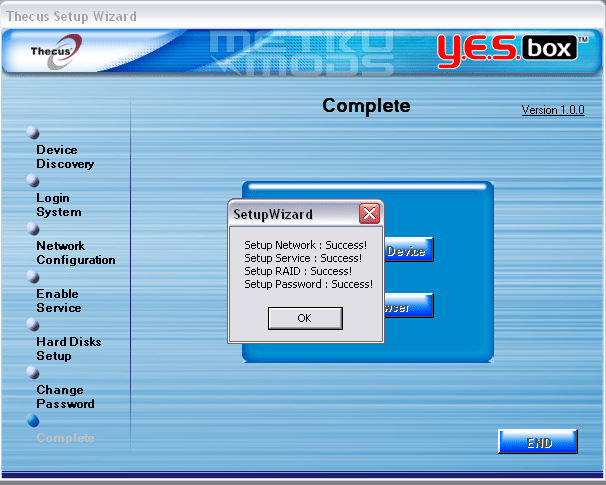
All done
After the RAID is built and all the network configurations written to the flash memory the N2100 greets you with this popup. The unit is now ready to start taking in the data and share it over the network.
The whole process takes anywhere from 5 minutes to hour depending on which RAID level you chose. RAID1 with two 160 GB Maxtor drives took 45 minutes to build.
| | Pages: 1 2 3 4 5 6 7 8 | |
 Content in english!
 Sisältö suomeksi!
