
|
|

Administrator menus
I'll go through some of the menus that can be found when logged in as an administrator. If you want to read more about the possibilities of these menus, I'll suggest you to head down to Thecus website and take a look at the N2100 manual online.
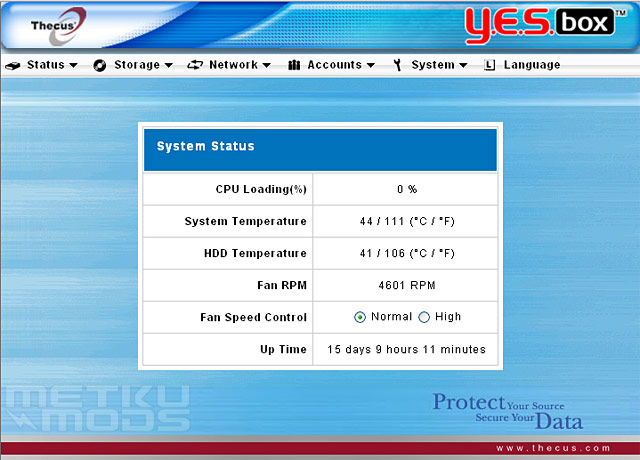
Status window
From here one can see the basic status information for the unit. Not something that you'll be wanting to check all the time but hard drive temperature information could come handy. Some hard drives tend to get warmer than othes and from here you can check if it is time to change for something more thermally friendy ones to keep your data even more protected.
Network settings
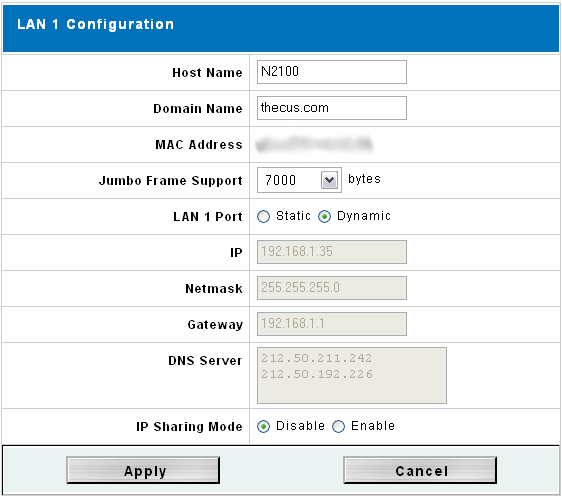
Network
N2100 has two separate ethernet connectors. Lan 1 is the one with more features, like IP Sharing Mode. From this tab one can change the IP address, DNS servers etc. One interesting feature is the support for Jumbo Frames that will speed up the data transfer between the devices quite a lot. It can be disabled via this menu or one can choose different byte settings for it. In our tests we used 7000 bytes as a default setting.
iTunes
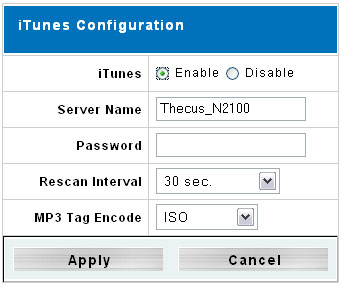
iTunes
This is for all the iPod fans out there I believe. Yes, the N2100 can act as a iTunes server with the password protection and all that... Don't have any iThemed products myself so I can't hype this any further but hopefully some will find this feature useful.
Access Control List
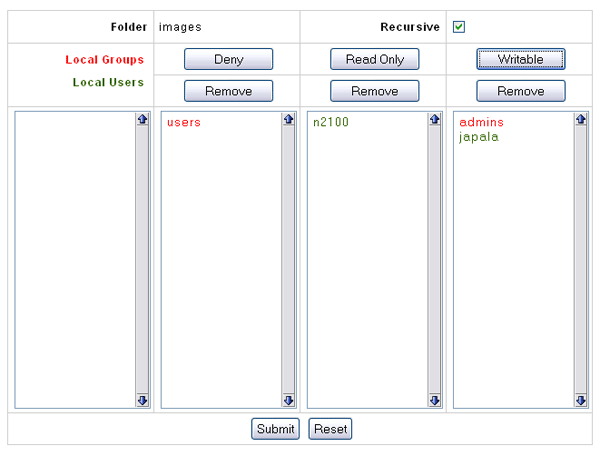
Access Control List
This rather grude looking interface is what greets you when starting to set folder permissions. From here one can set the read/write rights for individual users or whole groups at once. Not so fancy interface but gets the job done.
RAID Building
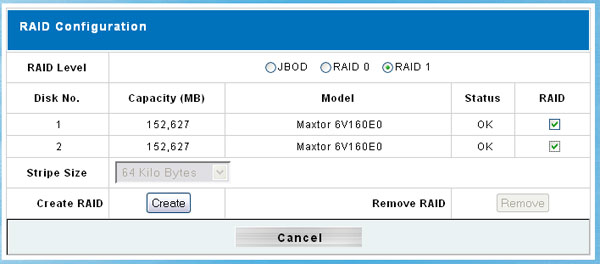
Setup
And finally I'll show you that one can delete and build the RAID stack right from the web interface. I find this options very useful as you don't need any additional software installed on your PC to get the RAID stack done.
| | Pages: 1 2 3 4 5 6 7 8 | |
 Content in english!
 Sisältö suomeksi!
