


|
|


 In English
 Suomeksi
Casing
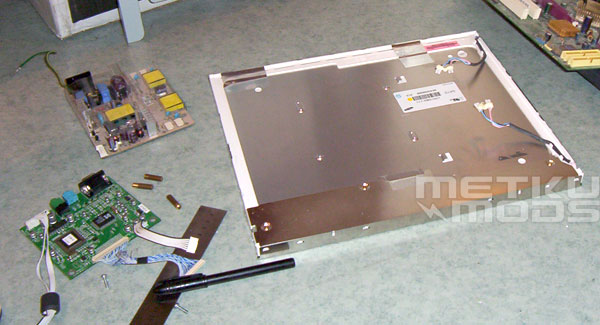
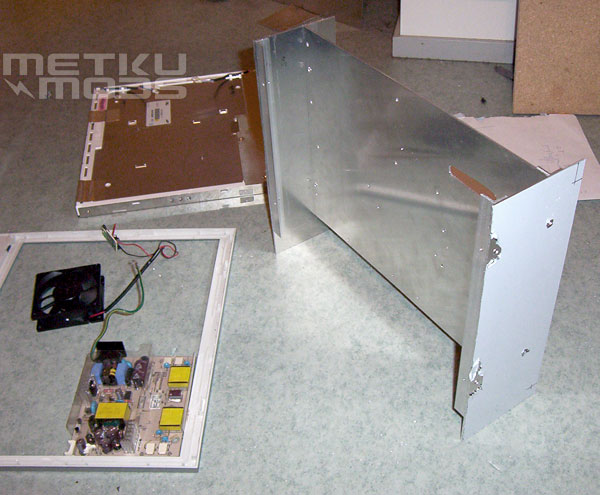
Panel in the middle, panel electronics on the left, motherboard on the right
I started by disassembling my 17" TFT-panel. It was pretty straightforward, The plastic case was attached together by clips that had to be carefully bent with a screwdriver. After that it was only metal and screws.
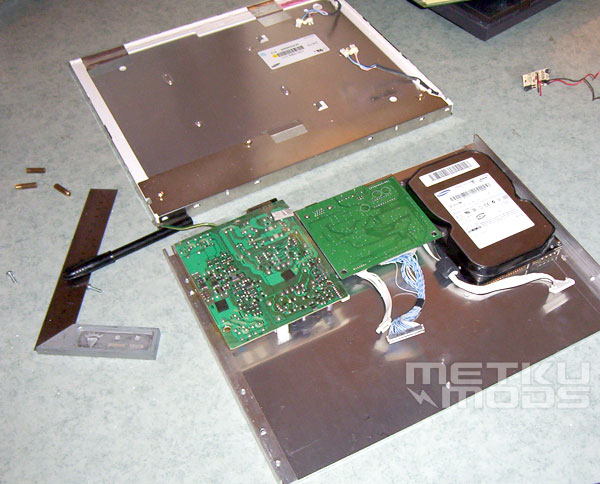
Planning
The whole case will be built out of aluminum, and here is the first piece. All parts except for the display will be attached to this plate. Here are the HDD and the electronics for the display. There is space for a slim DVD-drive, but since I have a good external dvd-drive, (which I don´t even need) I´m not going to add one to this case. Maybe later, if there is a need for one.
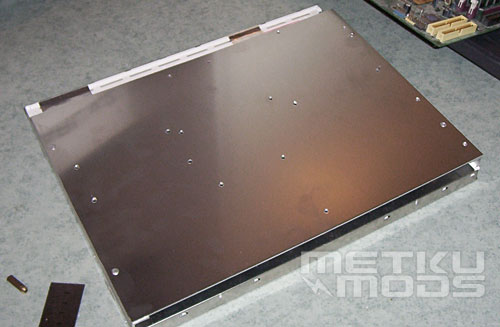
Backside
Next I flipped the plate over, leaving the HDD and the pcb:s below, between the TFT-panel and the plate.
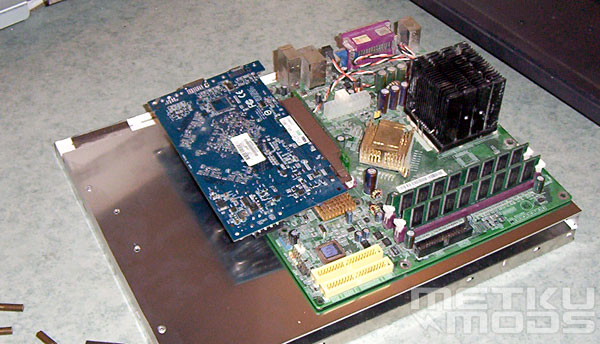
Making sure everything fits
On this side comes the motherboard. Graphics card is of course added with an agp-riser, later changed for a PCI-e version.
Sidepanels
To hold it all together, sidepanels are needed. Since the HDD is on the other side of the plate, a hole is added for the ide-cable. TFT-panel is attached to the sidepanels from its edges.
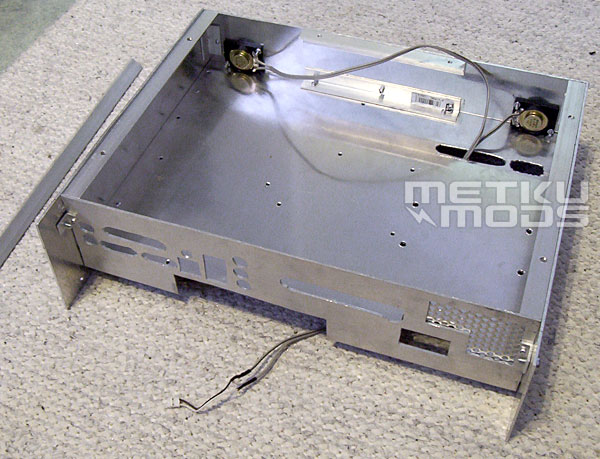
Speakers
I was going to add the display´s integrated speakers to the roof of the case. But since they suck, and I don´t use them anyway, I made the holes bigger and better shaped and used them for blowing the hot air out of the case.
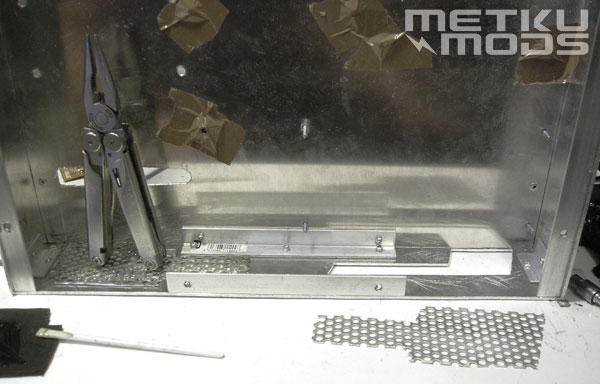
Gluing
I used some leftover aluminum mesh for the holes. Epoxy is good glue and the leatherman is a versatile tool; it can be used as a weight.
 | Pages: 1 2 3 4 5 6 7 8 9 10 |  |
 Content in english!
 Sisältö suomeksi!