


|
|


Making it all happen
This page will show some of the steps that we took when working with the case cover. For more details how to do the sanding properly or how to apply the polishing liquid the best way, you should visit the pages of English Custom Polishing. From there you will find all their products, information about them and most importantly information about how to use them. It is quite rare to see manufacturer's pages filled with so much usefull tips and knowledge. You will find for example "HOW TO" section on aluminum polishing, techniques on working with precious metals etc. Must visit for anyone interested on polishing.

Random Orbital Sander
This is what were needed to get that nasty anodized surface off. Grits used were 100, 160 and 320. It was really nice to see the surface texture to come off because it wasn't going anywhere when I tried it by hand. It took around 15 minutes to get to the 320 grit and smooth the deepest scratches from previous grits off.
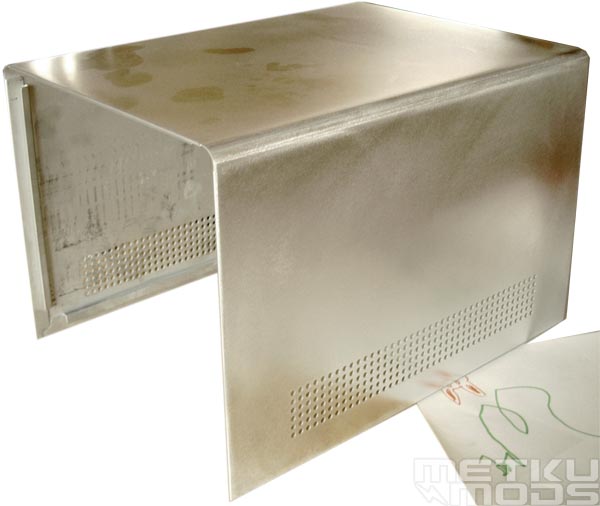
Starting to shine
This is how the metal will look like after the treatment of random orbital sander. On the bottom right corner you will notice a little drawing by my daughter and a faint reflection of it on the cover itself. I was quite surprised how smooth the surface felt after the 320 grit but we need even more flat and scratch free surface to start the polishing.
I don't have images from the wet sanding because my hands were all wet and I didn't remeber to stop sanding to dry them. Anyway, the procedure is quite simple. Start with the roughest grit you have. Use plenty of water to keep the paper clean while sanding. Sand only to one direction until you feel that it is time to change to the smoother grit. When you change the paper, change the sanding direction too. Make it 90 degrees from that previous grit. Then sand as long as you can see the marks from the previous grit so that you remove all the scratches left by it. Repeat these procedures as many times as you have different grits. Finer the paper, smoother the surface and more easier it becomes to polish in the end.
Polishing
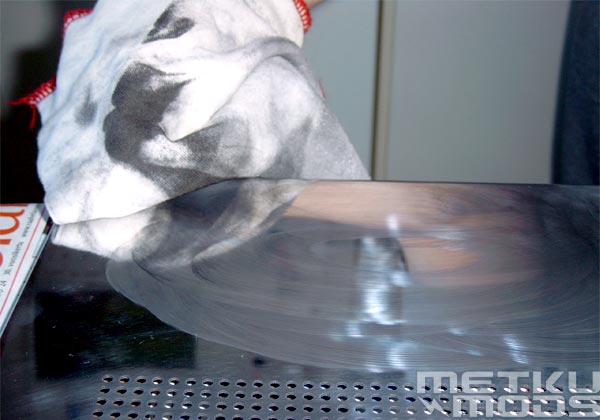
Polishing
Again, the best place to find help on how to polish the right way, please, visit the pages of English Custom Polishing. From there you will learn that the proper way to apply Metal Polish & Restorer and tips like this:
"The hand polishing should be smooth and directionally consistent. If places are hard to get into by all means employ a tooth brush, but wrap the bristles with cloth or they'll scratch your finish."

Where is the mirror?
I thought we were making the cover shine like a mirror, why is it black? All the magic is happening beneath the removed material and chemicals. Notice how the cleaned line at the middle of that dull black area shows what we are about the get. Just keep on polishing because more you work on the surface the more beautiful it will become and trust me, every spot you miss or don't work thoroughly will show so be careful, precise and systematic.
The amount of polish you need to use will vary a bit but in general it seems that these products do the trick with very little polish. One bottle should last for many cases, at least with these small barebones. Reason for this is that the stuff you remove by polishing the surface, works for you and polishes the remaining surface even further.
|
|
|

 | Pages: 1 2 3 |  |
 Content in english!
 Sisältö suomeksi!
 En ota mitään vastuuta tuhoutuneesta tai hajonneesta laitteistosta tai sen osasta.
 Disclaimer! I will not take any responsibility for any destroyed or damaged hardware.
